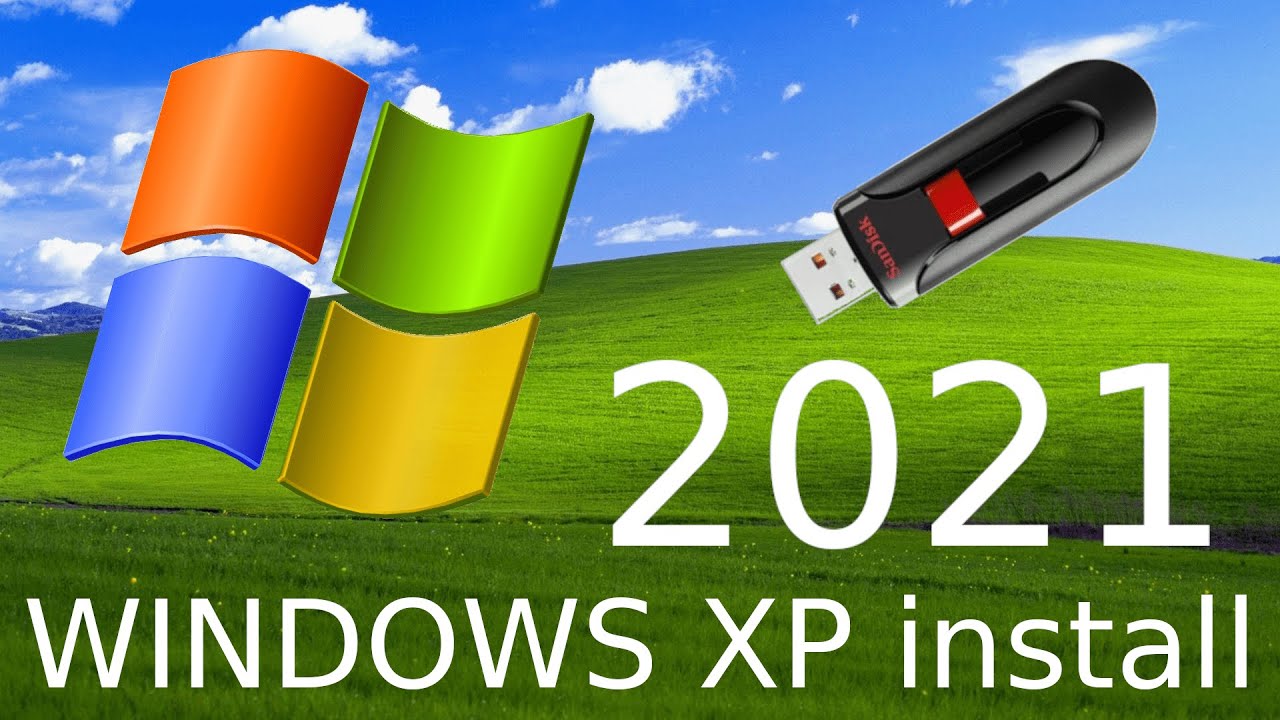
El método definitivo: Cómo instalar Windows XP desde una USB booteable
Create a Bootable USB for Windows XP Installation
Why create a bootable USB for Windows XP?
Installing Windows XP can be a bit tricky, especially since most modern computers no longer have CD/DVD drives. One of the easiest and most convenient ways to install Windows XP is by creating a bootable USB. With a bootable USB, you can quickly and easily install the operating system on any computer that supports USB booting. This is particularly useful for older machines that may not have the necessary hardware to run newer operating systems.
What you need to create a bootable USB for Windows XP
To create a bootable USB for Windows XP, you’ll need a few things:
– A USB flash drive with at least 1GB of free space.
– The Windows XP installation files in ISO format.
– A computer running a supported operating system (Windows or macOS).
– A reliable USB bootable tool, such as Rufus or UNetbootin.
How to create a bootable USB for Windows XP
1. First, make sure your USB flash drive is empty and properly formatted.
2. Download and install the USB bootable tool of your choice.
3. Launch the USB bootable tool and select your USB flash drive as the target device.
4. Browse for the Windows XP ISO file and select it.
5. Configure the tool to create a bootable USB for Windows XP.
6. Start the process and wait for the tool to format your USB flash drive and copy the necessary files.
7. Once the process is complete, your USB flash drive will be ready to use for installing Windows XP.
Remember to always double-check the instructions provided by the USB bootable tool you’re using, as the steps may vary slightly. Creating a bootable USB for Windows XP is a practical solution to install the operating system on machines without CD/DVD drives.
Preparing for Windows XP Installation
Preparing for a Windows XP installation is crucial to ensure a smooth and efficient process. Whether you’re upgrading from an older version or performing a fresh installation, there are several steps you should take to make sure everything goes according to plan.
Backup your data
Before starting the installation process, it’s essential to back up all your important files and data. This includes documents, pictures, music, videos, and any other files you don’t want to lose. Using an external hard drive or cloud storage service, create a backup to safeguard against any potential data loss during the installation.
Check system requirements
Prior to installing Windows XP, it is advisable to check the system requirements to ensure your computer meets the necessary specifications. This includes verifying the processor speed, RAM capacity, and available disk space. Failure to meet the minimum system requirements could result in compatibility issues or poor performance post-installation.
Collect necessary drivers and software
Gather all the required drivers and software for your computer’s hardware components. This includes drivers for your graphics card, network adapter, and any other peripherals. Having them readily available will prevent any delays or difficulties in getting your system up and running smoothly with Windows XP.
Installing Windows XP from the Bootable USB
Durante años, la instalación de Windows XP desde un USB era considerada una tarea complicada y reservada para usuarios avanzados. Sin embargo, con los avances tecnológicos y la disponibilidad de herramientas especializadas, ahora es posible realizar esta instalación de manera más sencilla.
Antes de comenzar, asegúrate de tener un USB de al menos 4GB de capacidad y una copia del sistema operativo Windows XP en formato ISO. Además, necesitarás una herramienta de creación de USB booteable, como Rufus. Una vez que tengas todo listo, podrás seguir los siguientes pasos para instalar Windows XP desde el USB.
Primero, conecta el USB a tu computadora y asegúrate de tener una copia de seguridad de todos tus archivos importantes, ya que la instalación borrará todos los datos del disco duro. Luego, ejecuta la herramienta Rufus y selecciona el USB como dispositivo de destino. A continuación, elige la opción de carga de la imagen ISO y selecciona el archivo de Windows XP que has descargado.
Una vez que hayas completado estos pasos, Rufus comenzará a formatear el USB y a copiar los archivos necesarios para que sea booteable. Esto puede llevar algunos minutos, dependiendo de la velocidad de tu computadora y del tamaño del archivo ISO. Una vez finalizado el proceso, podrás reiniciar tu computadora y seleccionar el USB como dispositivo de arranque.
Recuerda que la instalación de Windows XP desde un USB puede variar ligeramente dependiendo de la configuración de tu computadora y de las herramientas que utilices. Sin embargo, con paciencia y siguiendo cuidadosamente los pasos mencionados, podrás disfrutar de las ventajas de instalar este sistema operativo desde un USB.
Finalizing the Windows XP Installation
Once you have successfully installed Windows XP on your computer, there are a few final steps you need to take to ensure that your operating system is properly set up and ready to use. These steps are crucial to optimize your computer’s performance and ensure that all necessary drivers and software are installed.
Firstly, you should connect your computer to the internet. This can be done by either connecting an Ethernet cable to your computer or setting up a Wi-Fi connection. Connecting to the internet is important as it allows you to download and install the latest updates and security patches from Microsoft, keeping your system protected from potential threats.
After establishing an internet connection, it is recommended to install the necessary drivers for any peripherals and hardware devices connected to your computer. This includes devices such as printers, scanners, and graphics cards. Installing the correct drivers ensures that these peripherals work correctly and are compatible with the Windows XP operating system.
Finally, it is important to customize your desktop and settings to your preference. This can be done by right-clicking on the desktop and selecting «Properties.» From here, you can change the wallpaper, screen resolution, and other display settings. Additionally, you can personalize your user account settings, such as changing your password and setting up a screensaver.
Troubleshooting and Additional Tips
When it comes to troubleshooting technical issues, it’s important to have a systematic approach. Start by identifying the problem and gathering all relevant information. This can include error messages, logs, and any specific details about the issue reported by users. By having a clear understanding of the problem, you can effectively troubleshoot and find a solution.
One of the most important tips for troubleshooting is to start with the simplest possible solution. Often, the issue can be resolved by something as simple as restarting the device or clearing the cache. It’s important to rule out these basic solutions before diving into more complex troubleshooting steps.
Additionally, it is crucial to document the troubleshooting process. Keeping track of the steps taken and their outcomes can be helpful not only in resolving the current issue but also for future reference. By maintaining a troubleshooting log, you can create a reference guide that can assist with similar issues in the future.
Lastly, it’s essential to actively stay updated on the latest troubleshooting techniques and resources. Technology is always evolving, and new issues arise regularly. By keeping yourself informed, you can adapt your troubleshooting methods accordingly and efficiently resolve problems as they occur.